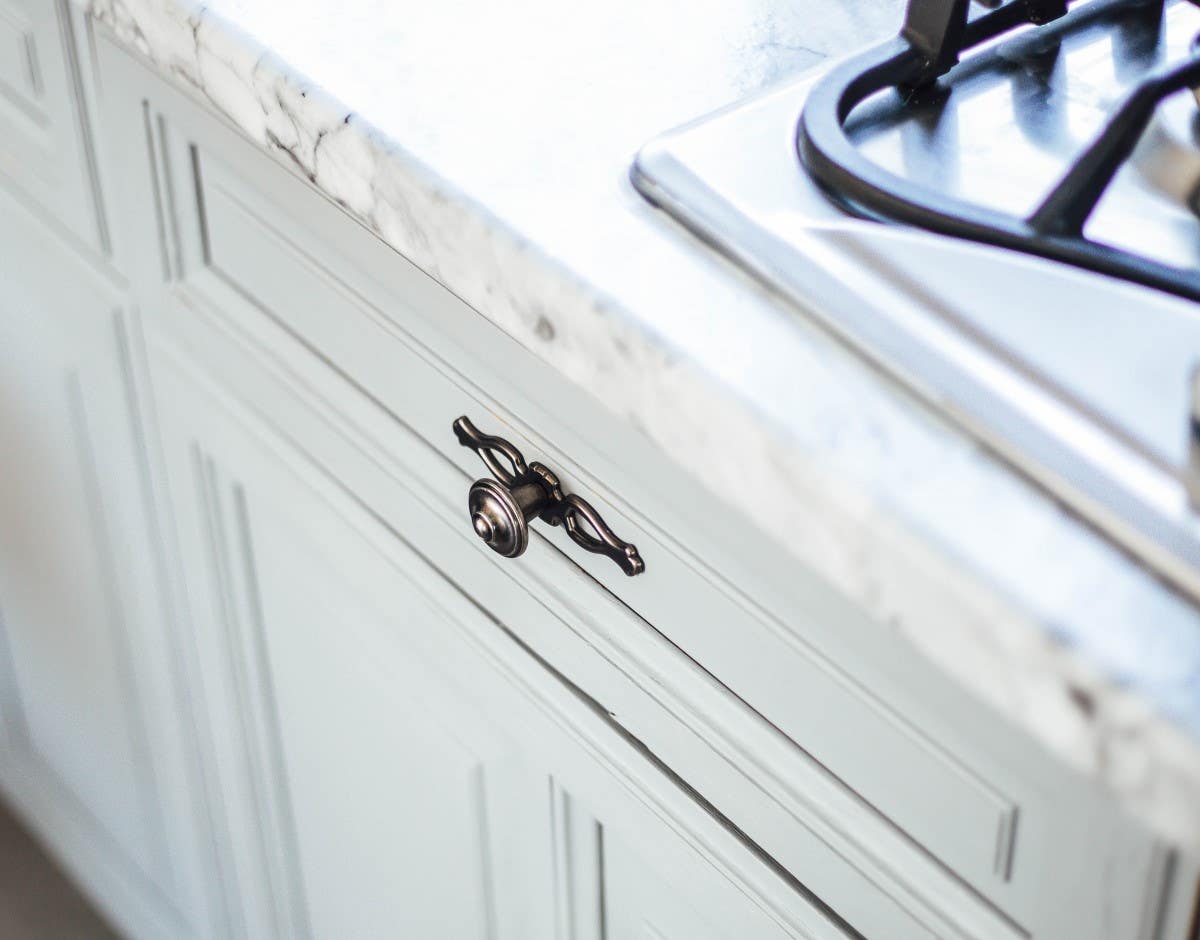


Your door handles are an integral, stylish component of interior design that can make a significant difference in your home's overall style and personality.
Whilst many will choose to add a fresh coat of paint to update their interiors, changing the handles of your doors is an easier task. Often an overlooked aspect of your home, update your interior design in minutes and replace your outdated handle that does not match your decorating style.
Not only are they able to enhance your interior or exterior design, but their essential function is critical to allow you to access your home. With the ability to add a level of safety to your home and belongings by installing a lock with your handles, their importance is second to none.
Over time, your handle may begin to wear out, feel loose, lose its glamour, and perhaps become challenging to operate as a result. When this happens, it is a definite sign that your handle will need replacing or that you need to fix it. You do not want to ignore this sign and end up trapped in a room one day!
The task of replacing the doors of your home can be a formidable, costly prospect and the idea of having to do it yourself can be a daunting job. However, merely replacing and installing a new handle is a simple and effective way of refreshing your interiors without breaking the bank.
You can continue your interior refresh and replace any old paint from your doors with a fresh coat, giving your home a brand-new feel and an enhanced flair.
Follow our guide below, and our expert knowledge will help show you just how simple giving your door handles an upgrade can be.

Choosing your new handles:
So, your door handle is loose, outdated or worn out. The task of choosing your new style can be a difficult job. With so many different styles and designs on the market, which one do you choose?
When you are ready to update or replace your handles, it is essential to ensure you choose the correct new design that provides the functionality, flair, and style you desire.
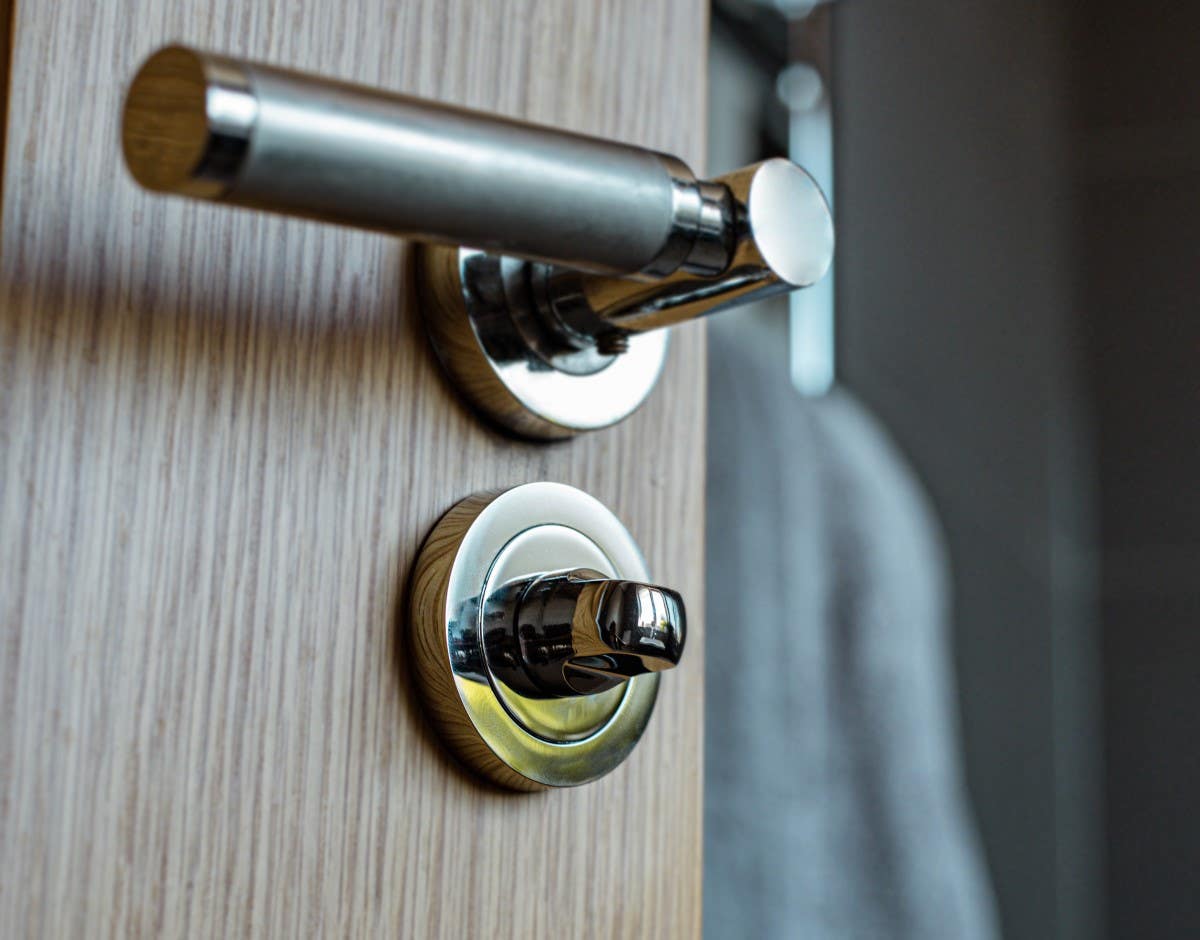
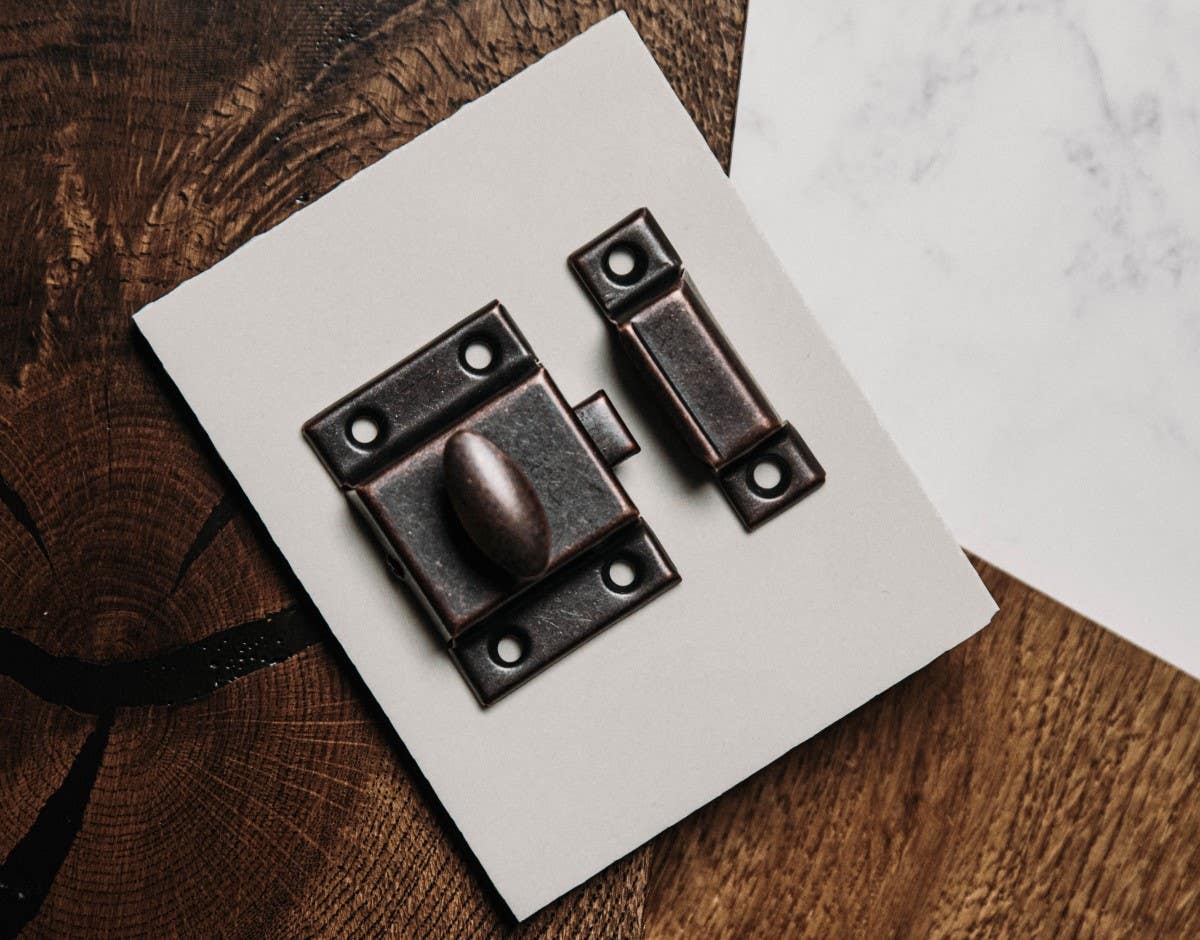
There are various significant factors to consider, such as whether you will need to include a lock, a handle, or a doorknob, or choose a chrome finish or a matt black finish.
Will you need any locks?
You may want to consider whether your new and stylish door handles will need to be installed with locks. You will most likely, want to install a door lock on bathroom doors and, potentially, bedroom doors to keep your belongings safe.
However, internal doors leading into children's bedrooms or other general rooms in the house, you will not require door lock for general safety.

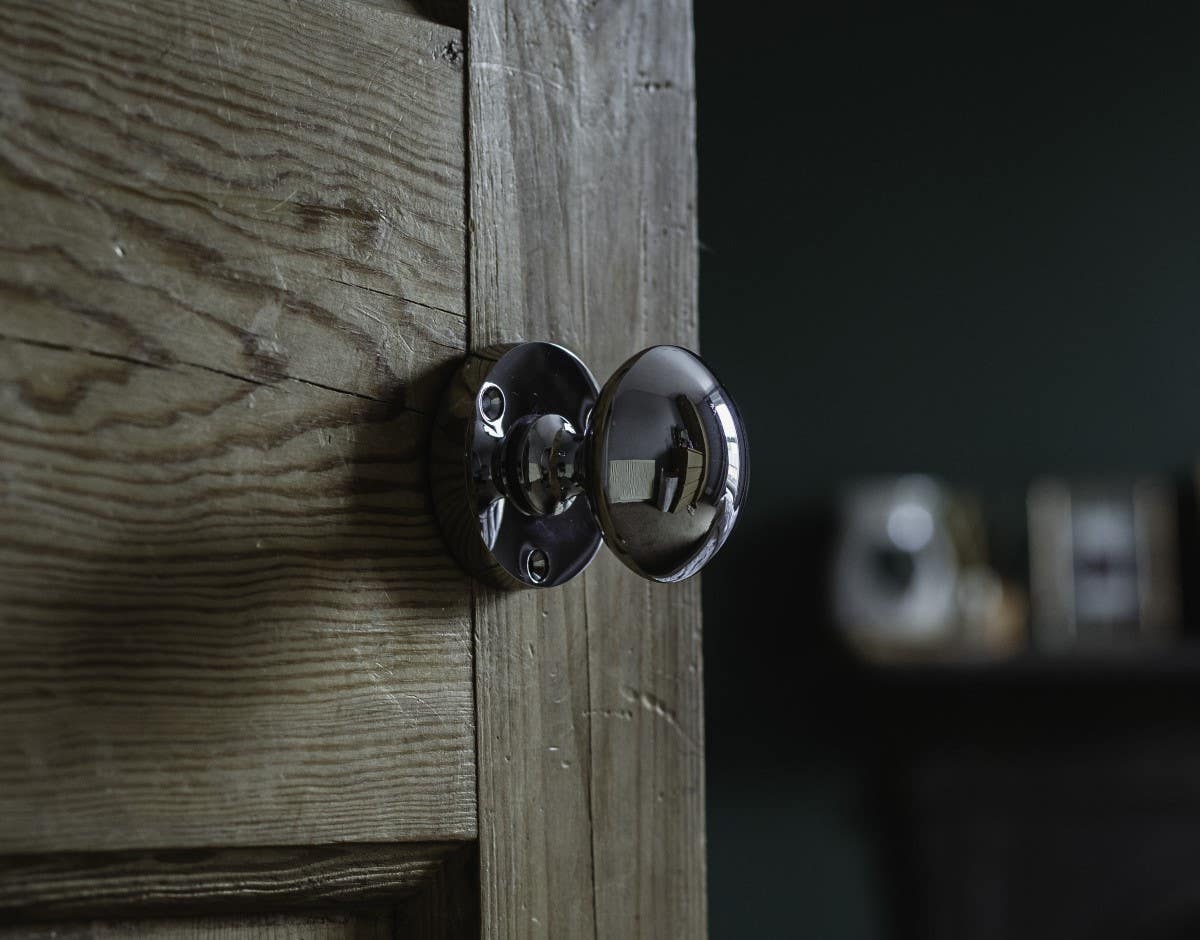
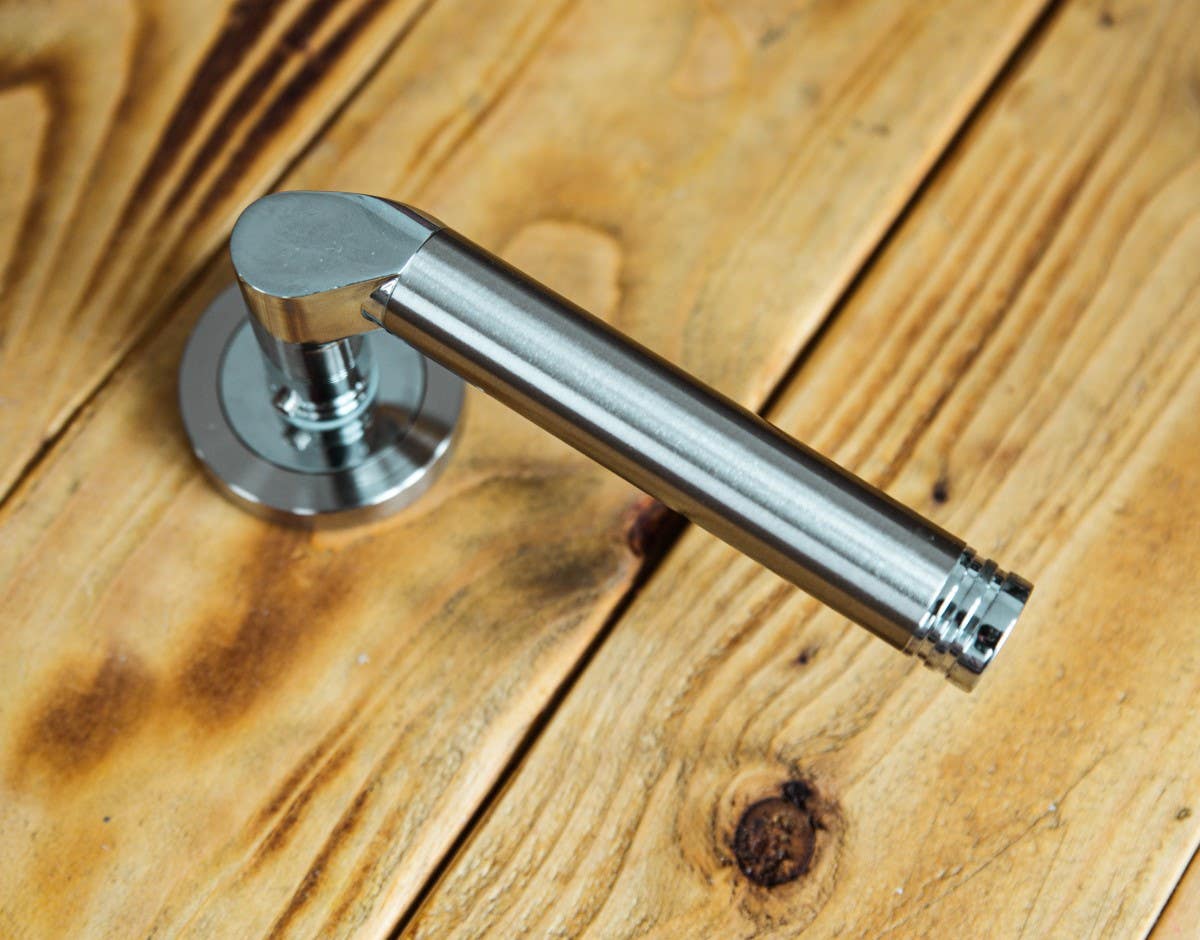
Will you need a door handle or a door knob?
Choosing between a door handle or a door knob is often a difficult decision.
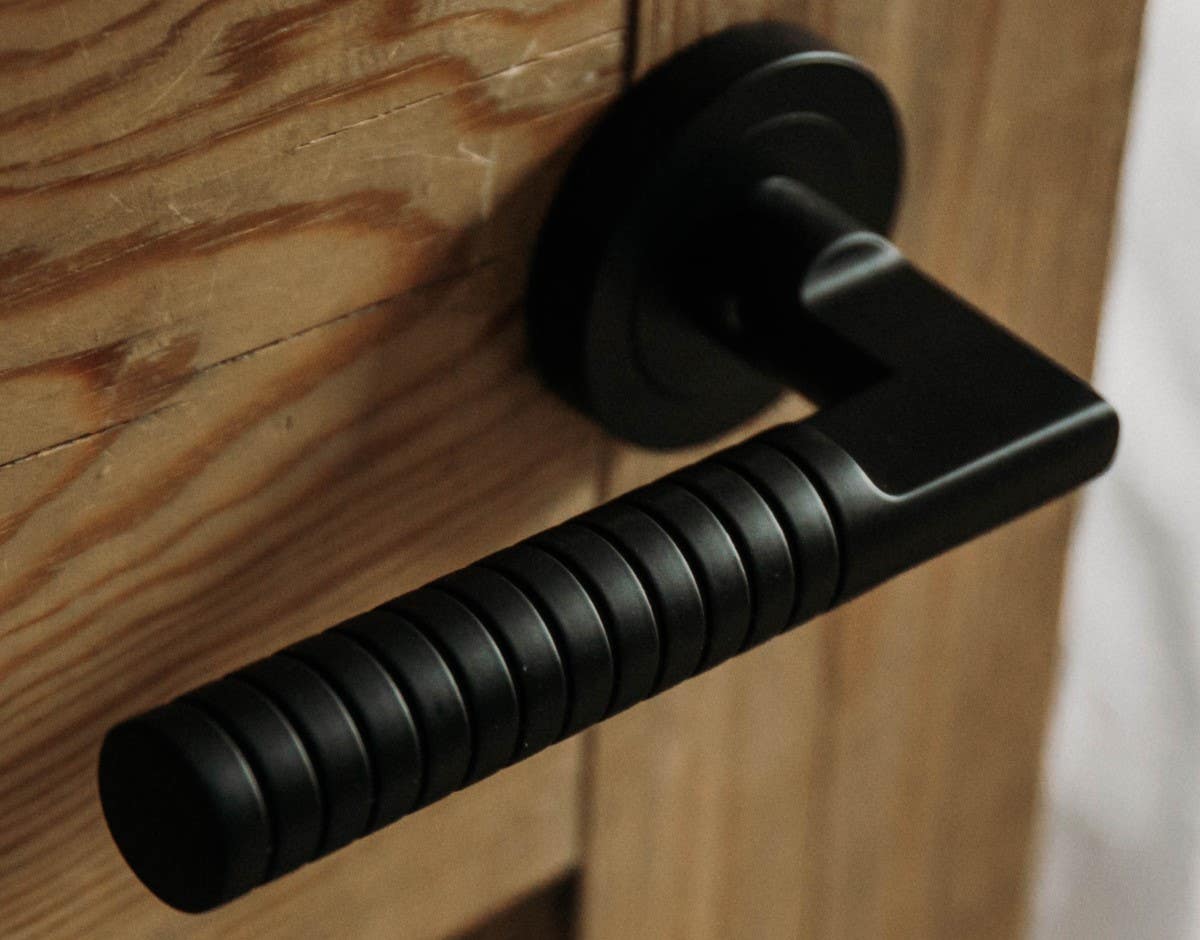
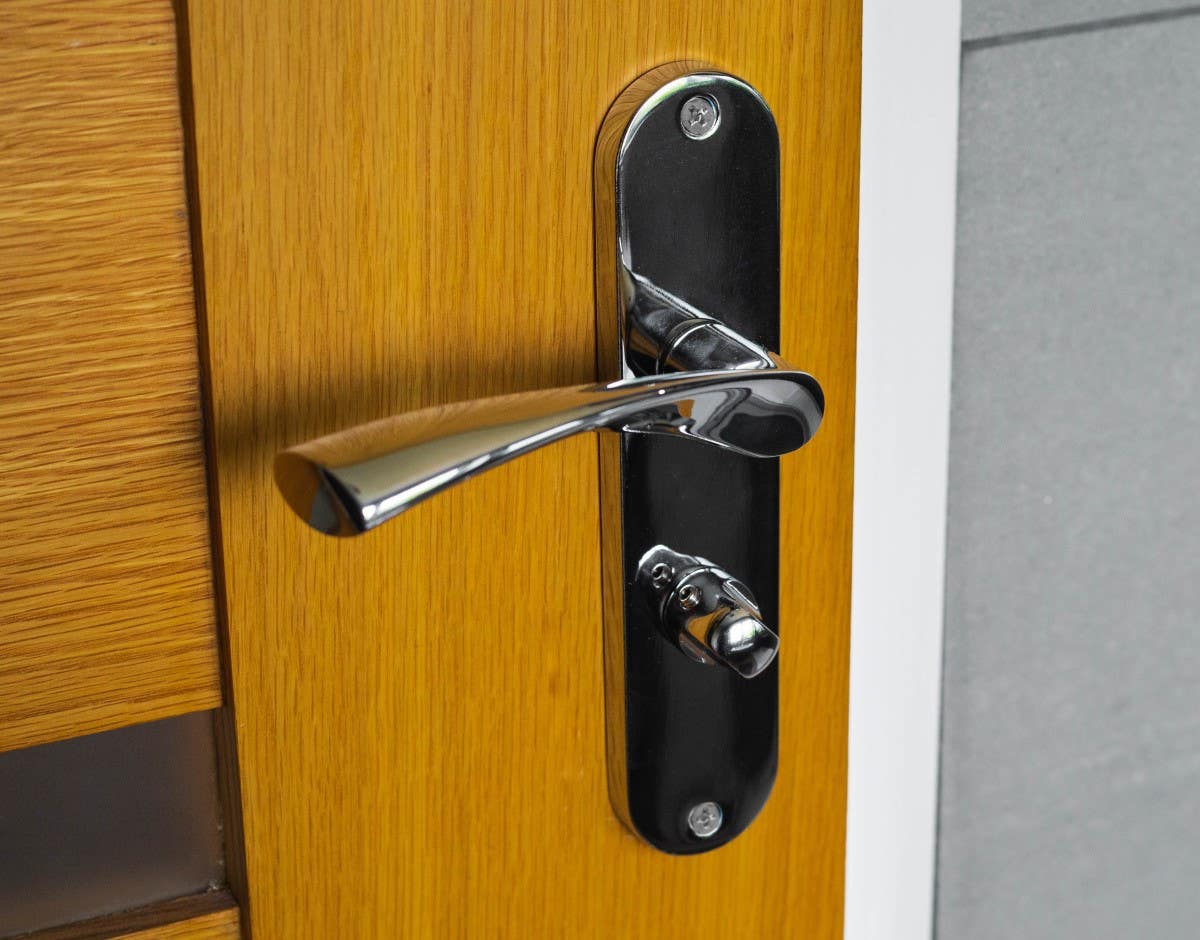
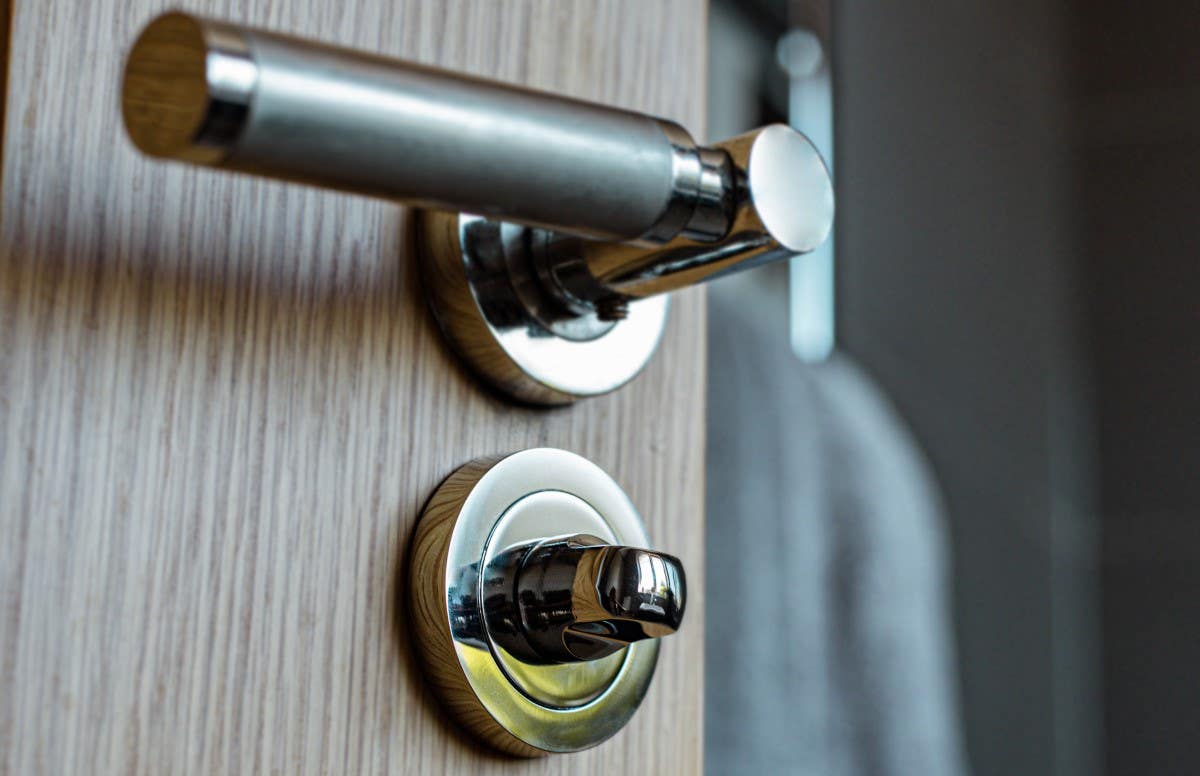
A door handle has a lever you push downwards to open the door, whereas the only way to use a doorknob is by rotating the knob that operates the door latch.
The choice between a door handle or a knob is down to you.
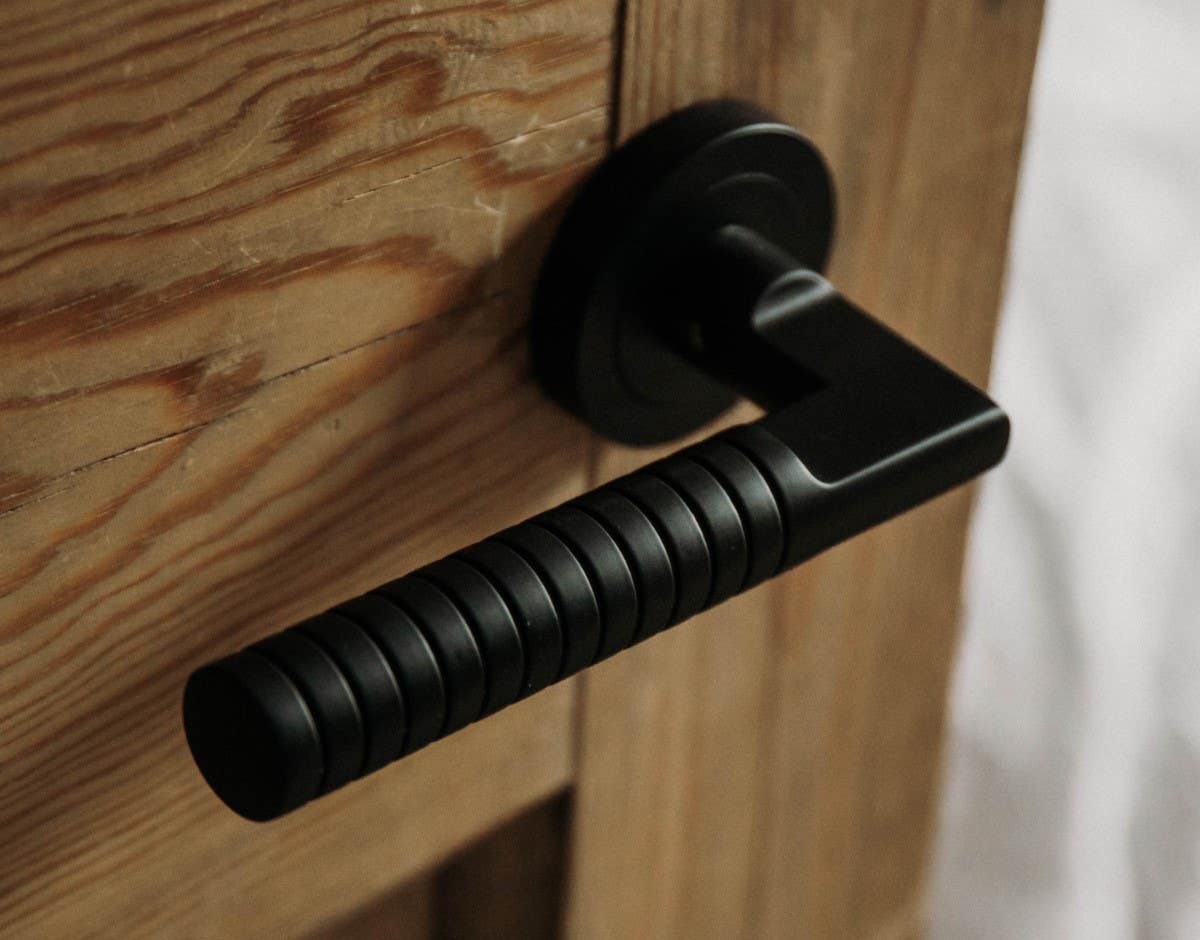
The style of your home may agree more with a glistening, stylish handle or perhaps an elegant, trendy matt black, rounded doorknob, but that does not mean you have to choose that design.
Accessibility is often an essential factor to consider between the two. For example, a door handle is much easier to operate; many people with mobility restrictions often struggle with operating a door knob.
Thus, you should consider the members of your household when deciding which option to choose. For instance, if your household includes young children or elderly individuals, investing in a door handle instead of a knob would be worth investing in.
With that in mind, doorknobs can be the perfect choice for both right-opening and left-opening doors, and by choosing an unsprung doorknob, you can rotate the handle in any direction, improving its usability.
If you currently have a doorknob installed, you can easily replace it with a new handle. Ensure that you choose a handle that will cover any screw holes and door marks made by your old knob. Follow our instructions in this article, and you will have your old handle with your new one in no time.

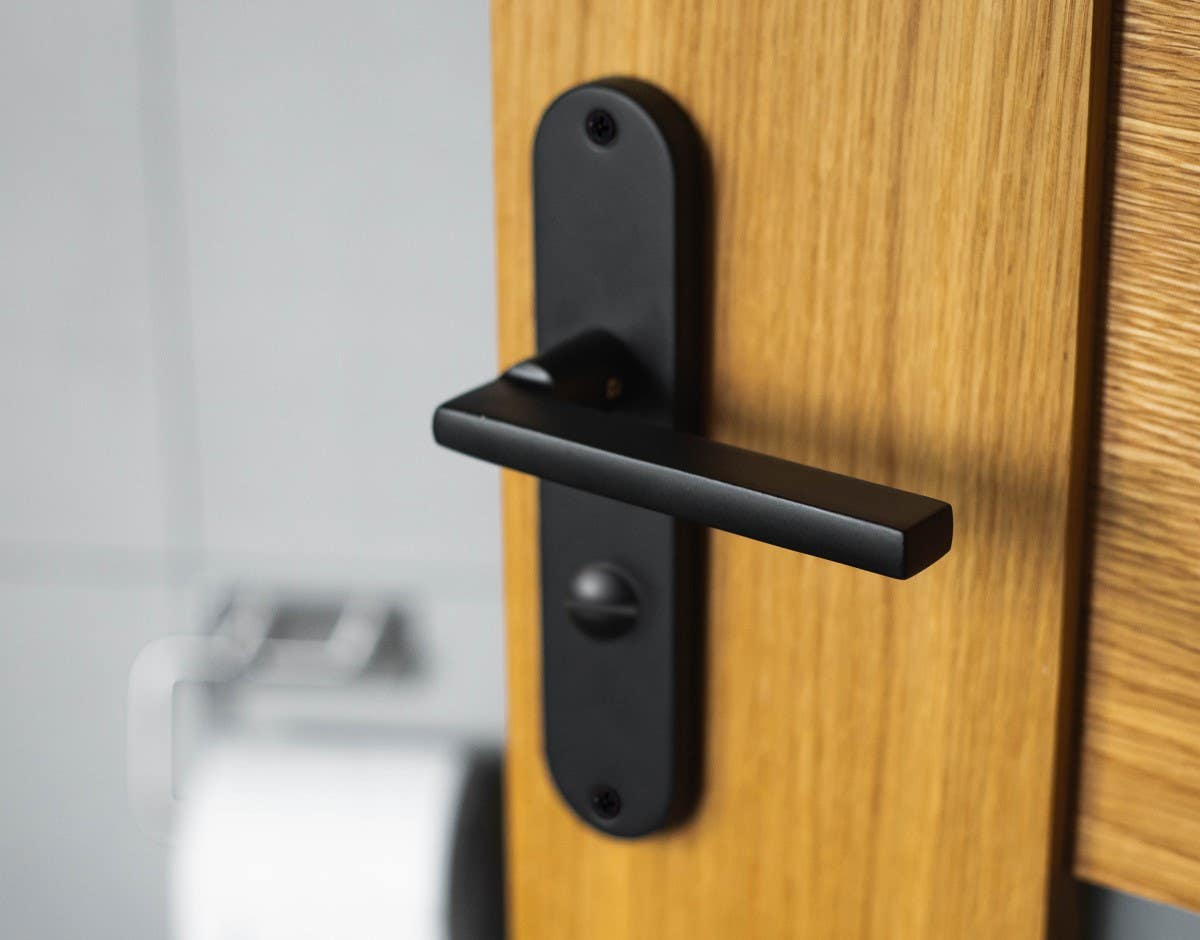
Which finish or colour should you choose?
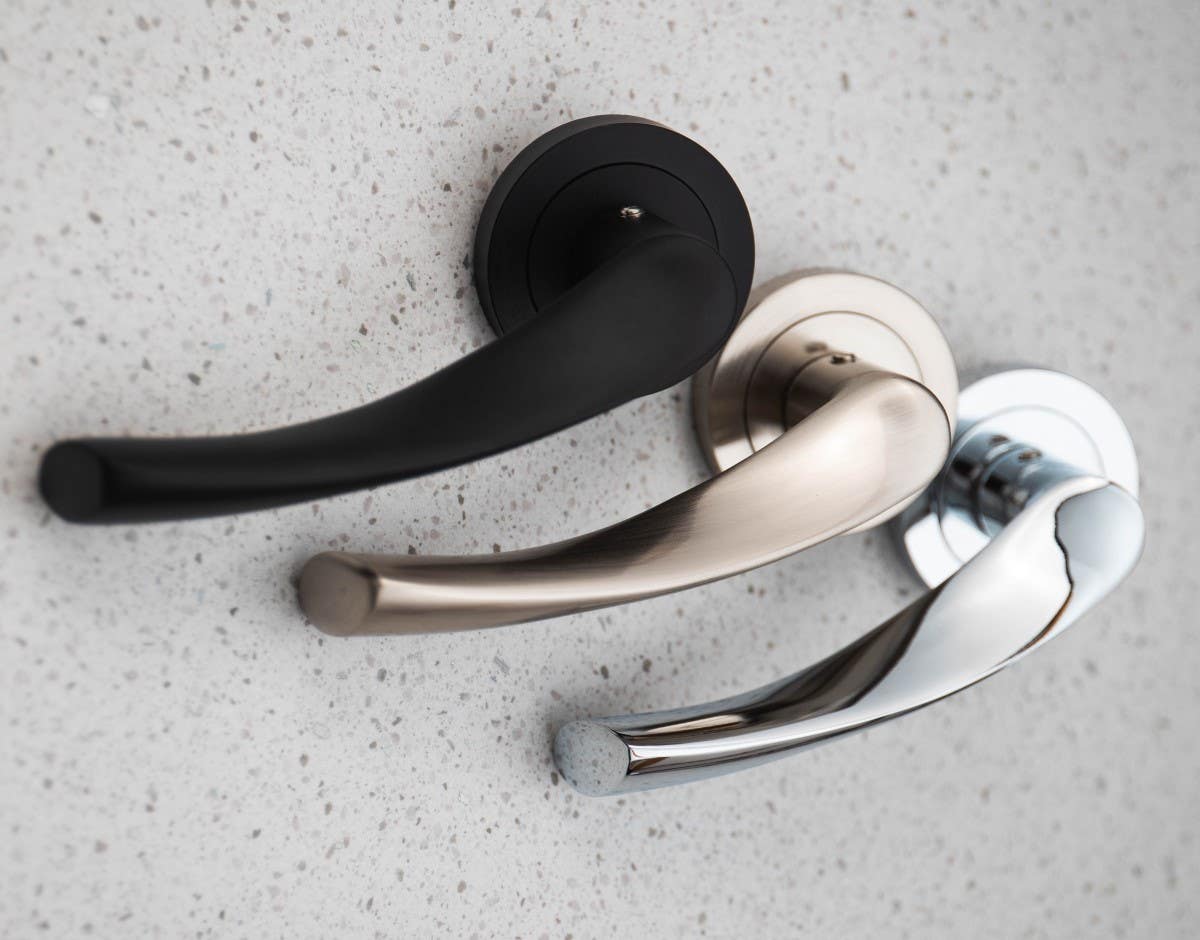
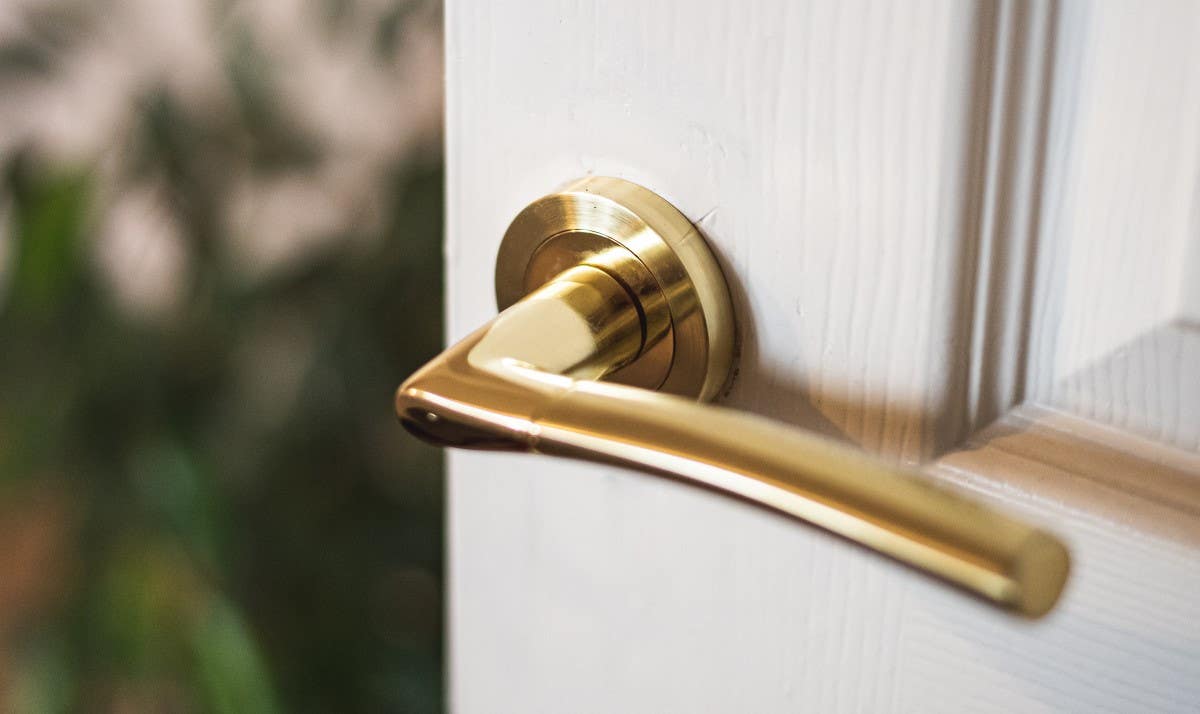
Door furniture comes in various colours and finishes, ranging from antique brass and black to reflective chrome and nickel.
Consider the overall interior style of your home; if it is more traditional or even a period property, a brass finish will look timeless and classic. However, if your style is more modern and contemporary, opting for an elegant chrome or on-trend matt black finish will enhance your interior.
Regardless of your preferences, you will undoubtedly find the perfect finish for your doors on our website.

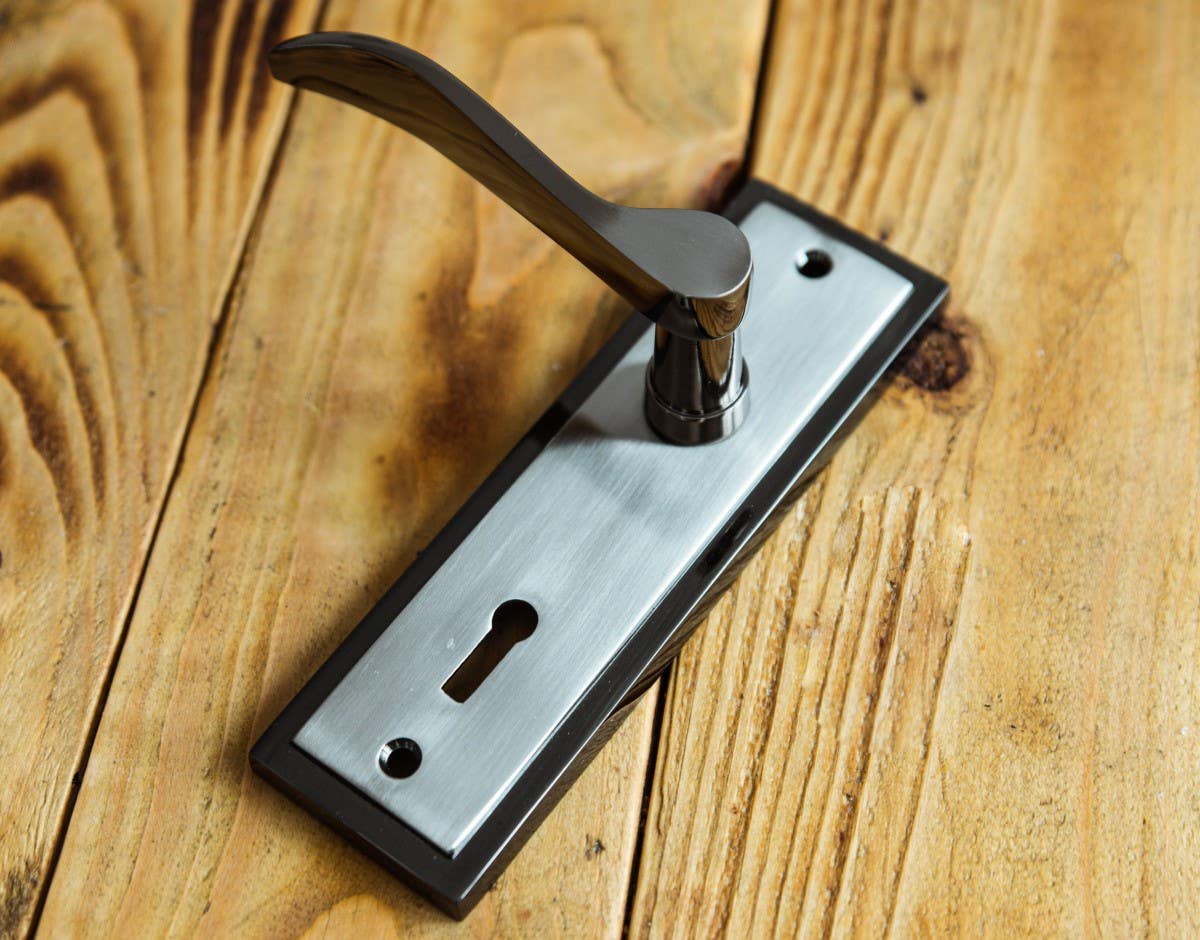
What size door handle should you choose?
The technical aspect of fitting a new door handle or door knob is often daunting. Figuring out what size handle you need is the first essential step.
You can choose any size handle, whether a lever on backplate, lever on rose or door knob. However, it is worth considering that you may need to cover any existing screw holes or marks on your door from your previous handle.
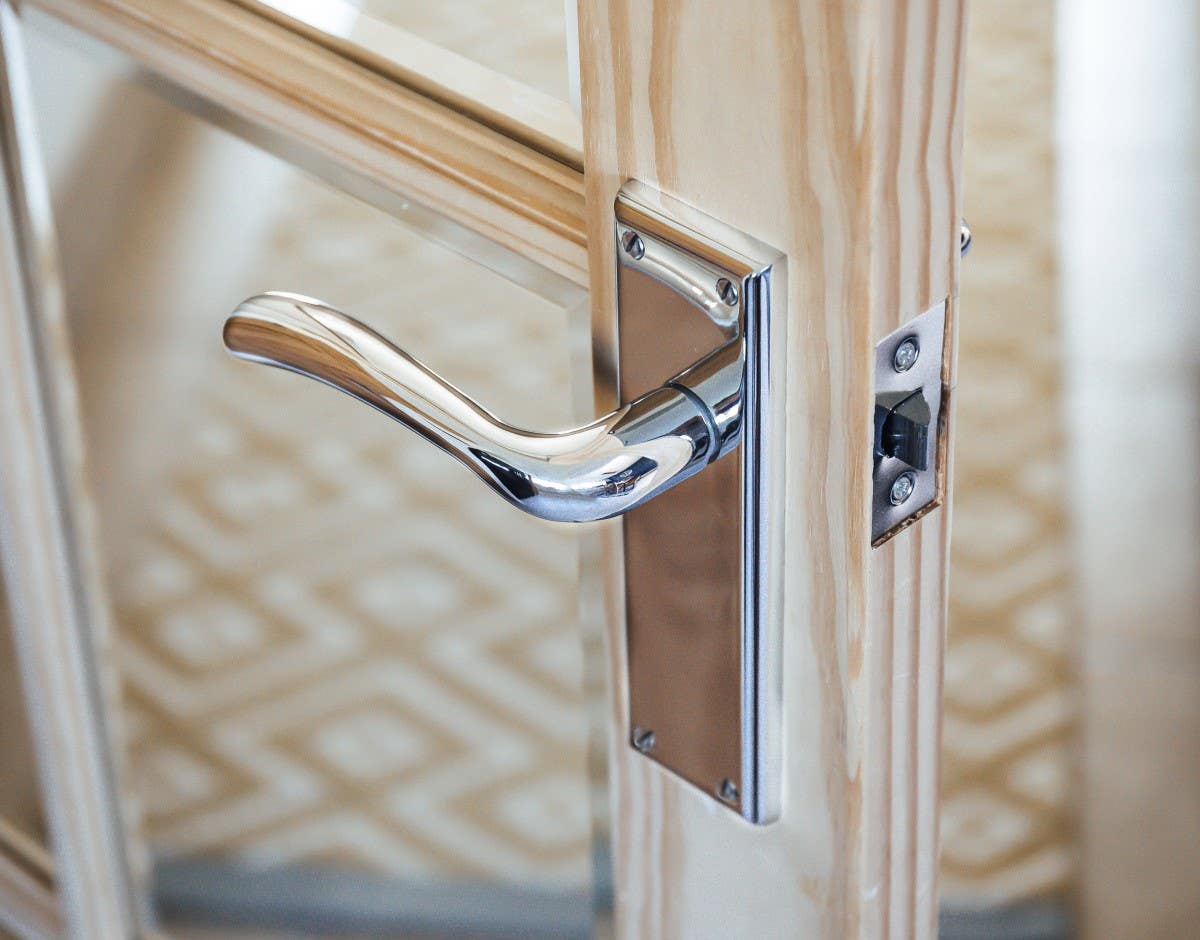
A lever on backplate handle will provide the most coverage as the length and width of the backplate is more significant than that of a lever on rose or a door knob.
It is also important to check the thickness of your door as some interior door handles may not be suitable for thicker doors. To choose your new door handles and ensure you purchase the correct fit for your door, follow this simple guide:
Step 1: Getting your measurements
Measure the distance between the outside edge of the door and the centre of the spindle hole. This measurement is your backset measurement.
Traditional door handles require a latch with a backset of 45mm (64mm case size). However, some may require a backset of 57mm (76mm case size).
We recommend a backset of 57mm for doorknobs to ensure adequate room for operation.
Step 2: Researching your handles
Choose a new handle with cover plates that match your old handles or choose a pair that will cover any existing holes or marks on your door from your old door handles.
Step 3: Getting ready to install
Prepare your new handles by ensuring you have all the fixings necessary for installation and the correct latch size for your door.
In addition, double-checking the sizing of your strike plate, set into the door jamb, will ensure the latch you choose will fit correctly. You may need to consider purchasing a new strike plate if your current is damaged or in need of updating to match your new handles.
Now you are ready to fix your new handles!

How to install your new door handle
What you will need:
- Philips’s screwdriver
- Flat head screwdriver
- Your new door handles
- Suitable screws (included with all our door handles)
- A tape measure.
Removing your old door handle
Step 1: Wedge your door open
The first step to fitting your new door handles is to wedge your door open using a door wedge or a door stop.
It would be best if you opened your door about halfway to access both sides of the door, as well as the door frame. Doing this prevents your door from moving or closing as you fit your new door furniture.
Step 2: Inspect your old handle
Next, check the design of your old door handle.
- If you cannot see any screws outside of the handle, they will most likely be covered by the cover plate. The cover plate is used to conceal the fixings of the door handle for a more attractive appearance.
- Using your flathead screwdriver, find the notch in the base or side of the handle and insert your screwdriver to remove the plate carefully. Some of the door handle covers can be simple unscrewed by turning.
Step 3: Removing your door handles
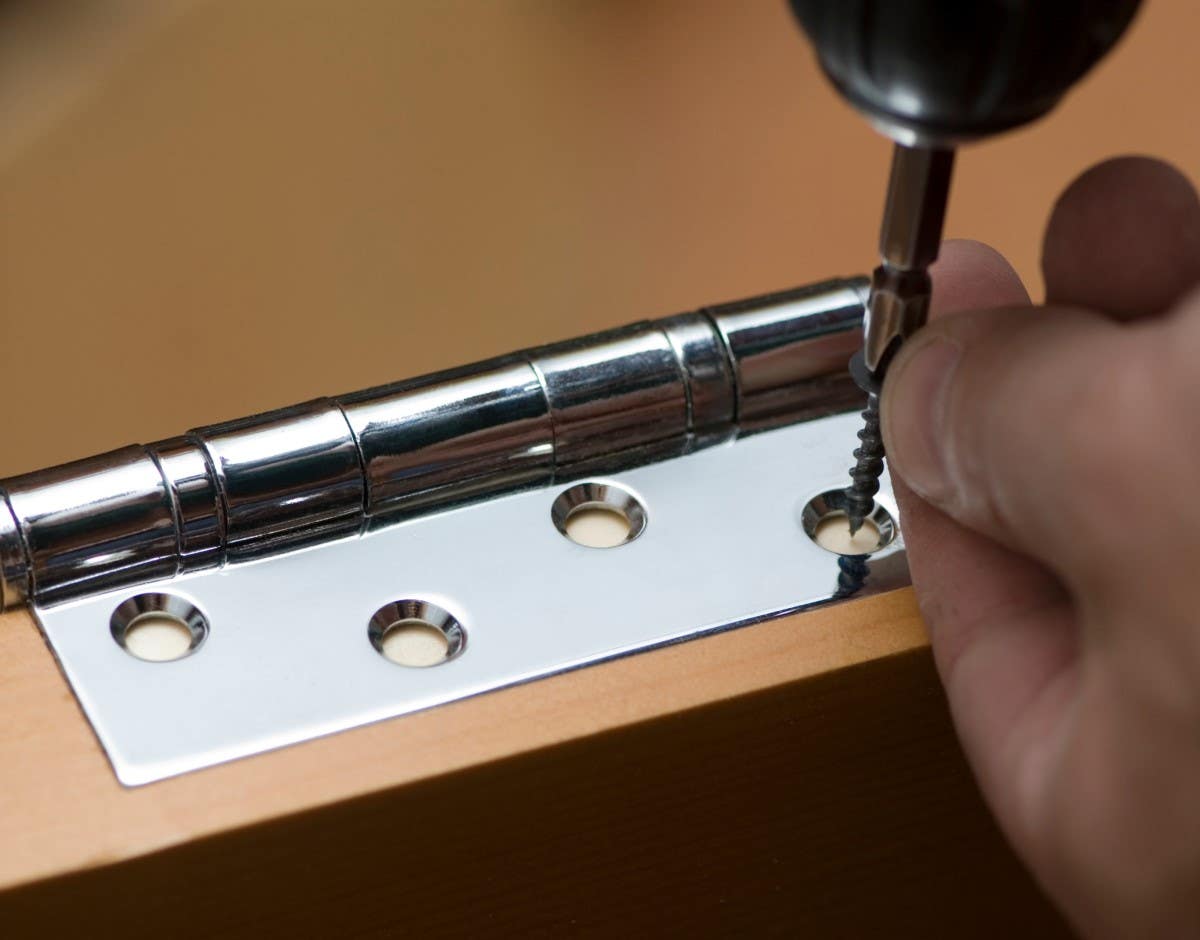
- With the cover plate removed, remove the screws from the face plate on each side of the door using a Philips screwdriver.
- Repeat on the other side of the door and slide the handles off.
- Remove the spindle bar from the latch mechanism fitting inside the door.
- At this stage you might want to decide if you want to change your latch mechanism. If yes, please follow Step 3 otherwise skip to Step 4.
Step 4: Remove the latch
- Next, remove the screws holding the handle's inner plates in place and the latch plates set into the edge of the door with a Philips screwdriver.
- A door latch is a slanted metal piece that moves in and out of a small slot in the doors inside edge, often marked by using a strike plate, and is operated using the door handle's lever.
- It will move as you push the door handle to allow you to push open the door.
- When the door closes, the latch hooks into a matching indent in the door frame to keep it closed.
- The size of the latch needed varies on the size of your door handles. Therefore, you may find your replacement door handles require you to insert a new latching mechanism of a different size.
- Remove the door latch and its mechanism and put them to one side.
Step 5: Ready to insert your door handle
Set your old handle to one side. You should now have just several holes remaining in your door, ready for your replacement door handles.
There is no need to get rid of your old screws; they may come in useful. You can keep the old screws in a container for another project!
Installing your door handles:
Step 1: Insert the new latch into the edge of the door
Slide the latch mechanism into the door until the latch plate sits flush against the door.
Screw the latch plate into the door using two screws, one at the top and one at the bottom.
- Ensure that the smooth, slanted side faces in the same direction as the door closes before you screw it into place.
- Some door latches will allow you to rotate this part, so it is worth checking if yours does too.
Step 2: Align the door handle with the spindle
- Align your new door handle correctly by sliding it onto the new spindle.
- Your new spindle will be inserted through the existing hole in the door.
- Ensure this lines up through the door latch mechanism to avoid a misalignment problem.
Step 3: Slide the spindle into the hole, through the hole and latch mechanism
Match up the new latch mechanism with the corresponding holes in the edge of the door.
Then, place the spindle through the hole to show through the other side of the door.
Step 4: Slide your new handle onto the spindle
Now you can attach the door handles by sliding them into place using the spindle before you screw them into position.
- Ensure you test the door by operating the door handle as usual: pull down gently on the lever.
- We recommend doing this to ensure everything is working correctly before installing the screws holding the handle to the door.
- Press or screw the cover plates into place; these will be the same on both sides of the door.
Step 5: Test your new handles!
Pull down on the handle to test it again.
Ensure that your new interior door handle is working properly before you close the door!